Customising The Web User Interface Of Your HTTP/S File Transfer Service

When you first launch your web file transfer service on JSCAPE MFT Server, you'll notice that the web user interface has the JSCAPE branding starting from the login screen and continuing inside. You can actually customize that and make it your own.
Watch the video
Would you prefer to watch a video showing how to customize an HTTP/s file transfer server? If so, you may play the video below. Otherwise, just skip it if you wish to continue reading.
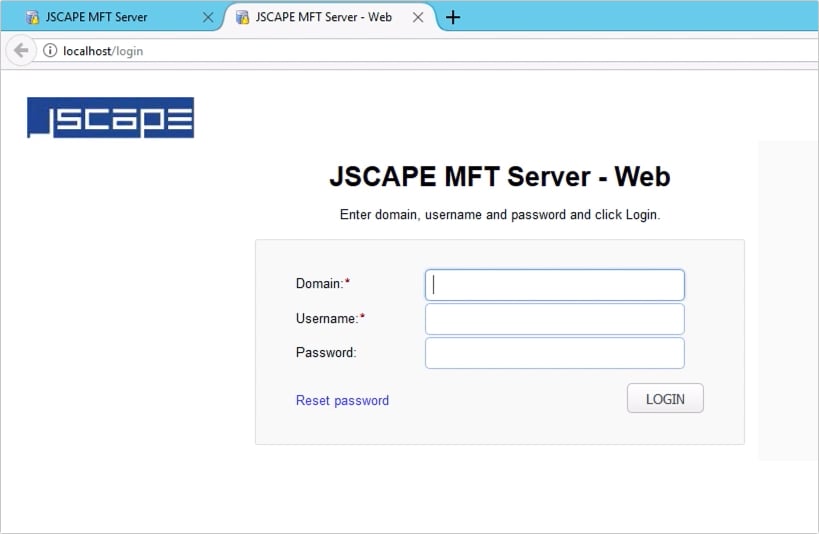
Let me load up the web user interface login screen first. As you can see, the login title says 'JSCAPE MFT Server - Web'. You can also see the JSCAPE logo at the upper right-hand corner. Let's start by changing those.
Launch your JSCAPE MFT Server manager and then go to Settings > Web > Resources. This is where you can make changes to the web UI login screen.
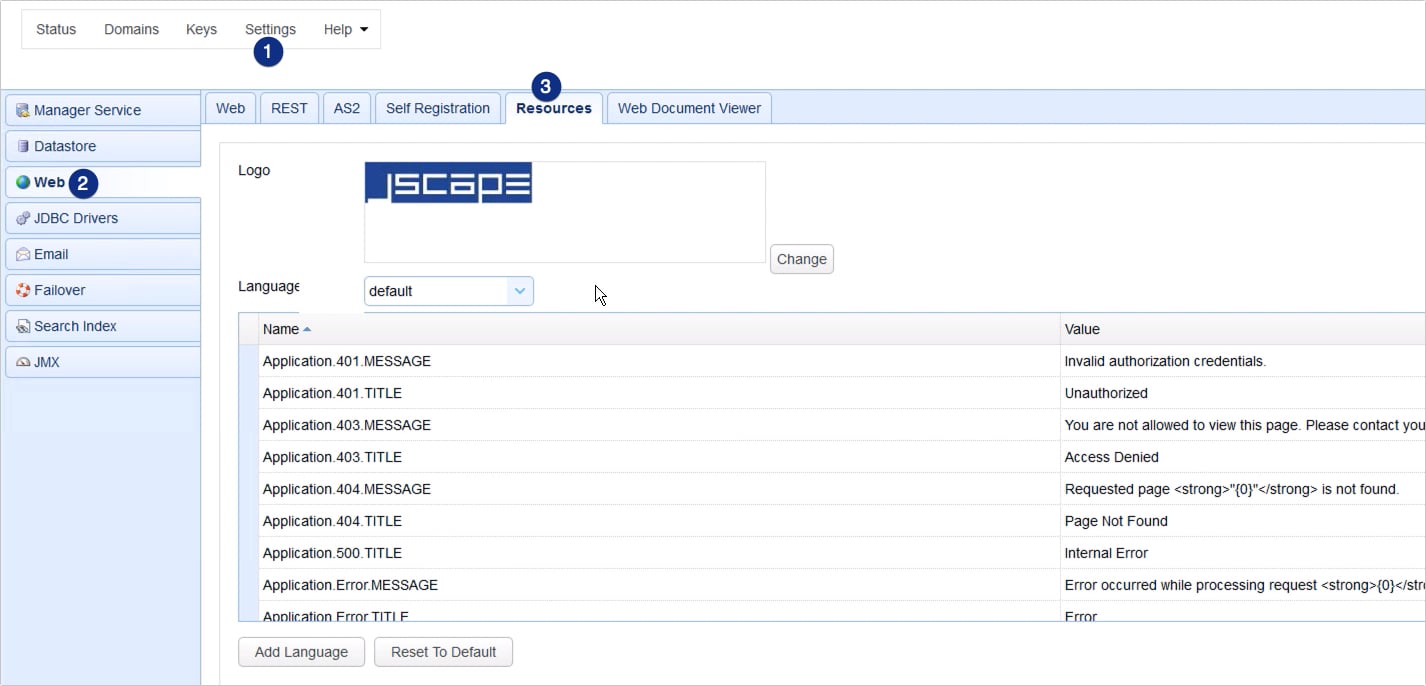
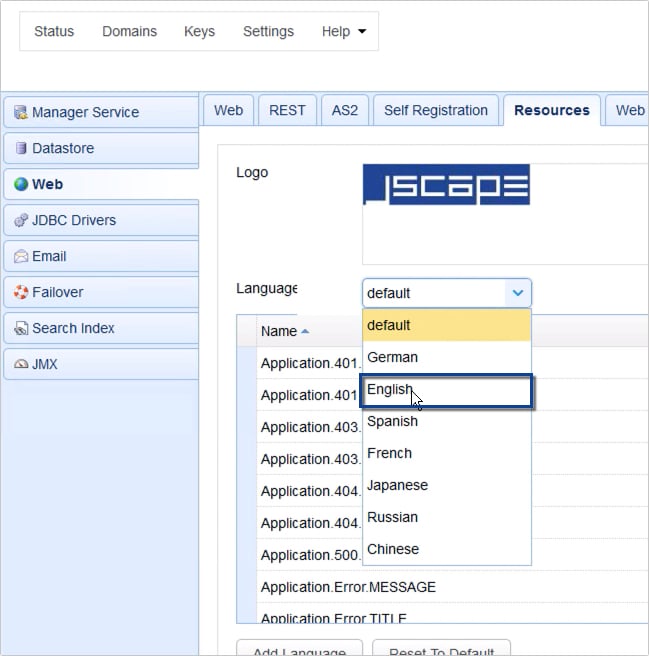
Note that, when a user connects to JSCAPE MFT Server via the web client, the server will automatically detect the client's browser language settings and, in turn, load up the appropriate MFT Server settings for that particular language.
So, whenever you make changes here in the Web resources module, you have to take note of the language selected in the Language drop-down list. Any change you make will only be applied to the currently selected language. If you're serving a global user base and those users use different browser language settings, then you'll probably want to make changes for each language in question.
For this example, I'm going to select English. So, any changes I make will only be seen by users whose browser language settings are set to English.
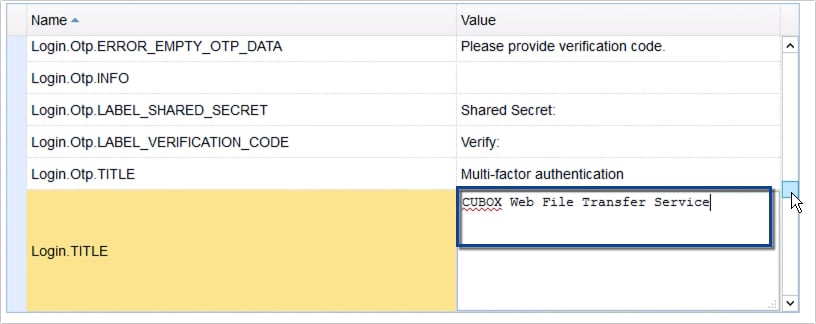
Once you've chosen a language, you can start scrolling down using the scroll bar at the extreme right to find the particular label or text you want to change. For this example, we'd like to change the login title, which is currently set to 'JSCAPE MFT Server - Web'. To change that, just click the current value ...
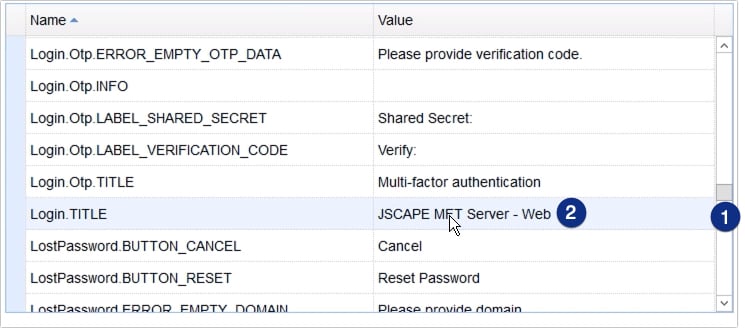
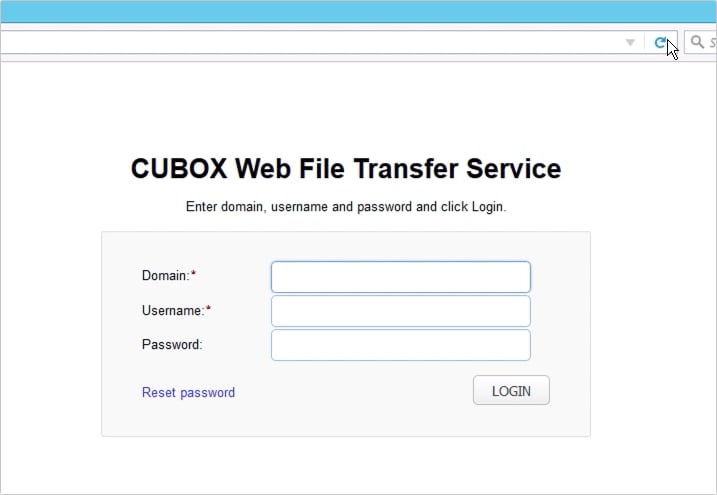
... and then replace it with your desired value. So, for example, I'm changing it to 'CUBOX Web File Transfer Service'.
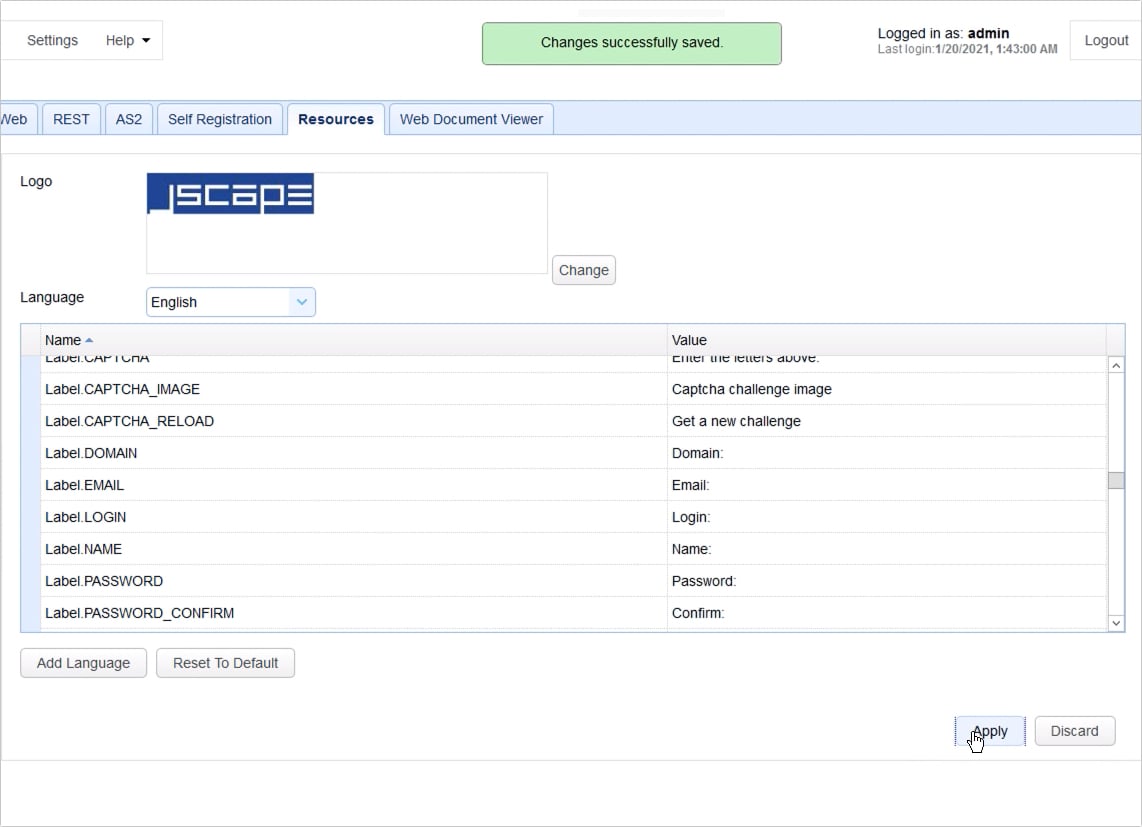
You may scroll up or down that list if you wish to make additional changes. And then, once you're done, just click the Apply button.
Let's now head back to our login screen and reload the page to see the new login screen title.
To replace that logo in the upper-left corner of the login screen, go back to the Resources tab and then click the Change button found near the top of the screen.
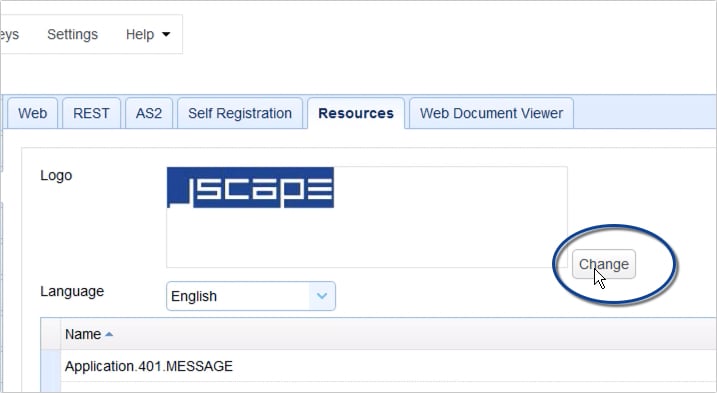
I'm assuming you already have the appropriate image file on the local file system. Navigate to that file and then select it to load it into the JSCAPE MFT Server environment.
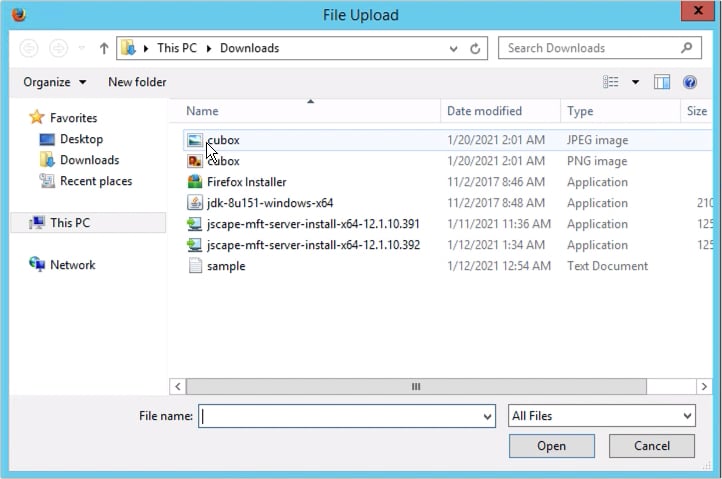
Once again, click Apply.
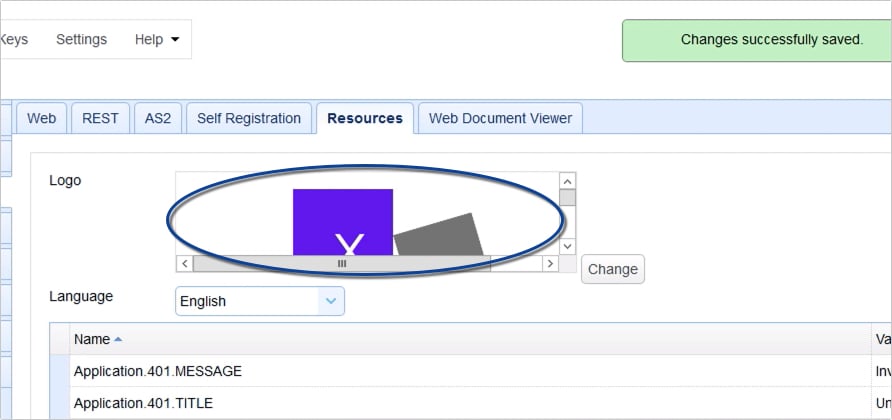
Again, let's reload our web UI login page to see the newly replaced logo. The logo I used for this example was actually too large. An image with a height of around 80px should suffice.
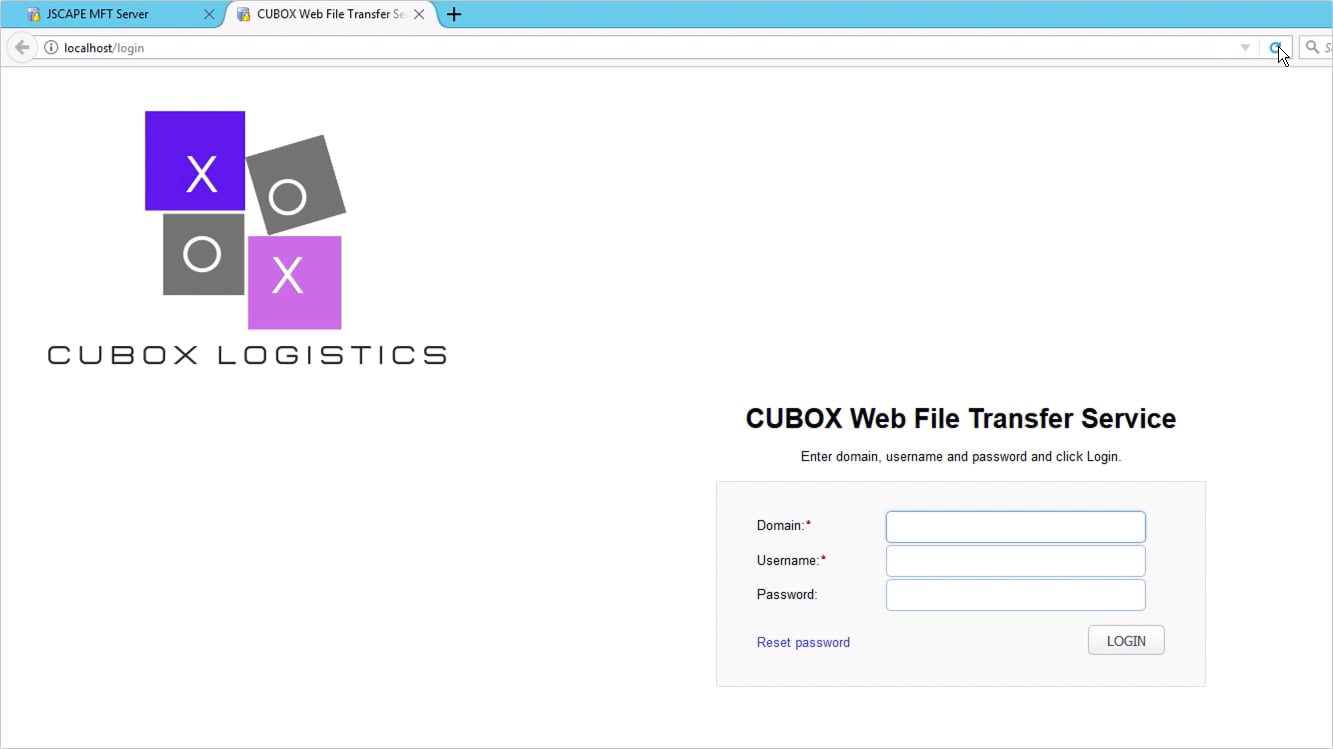
These aren't the only GUI elements you'll likely want to change. If you login ...
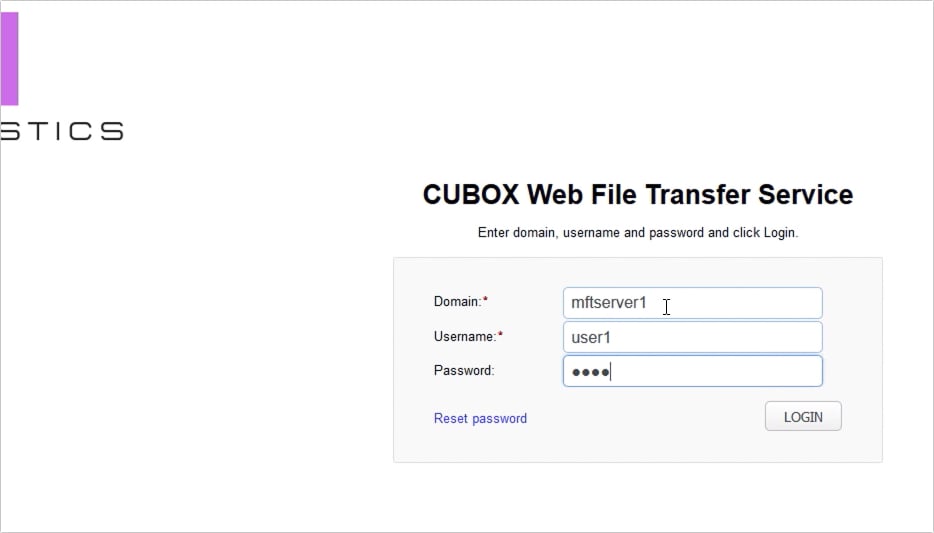
... you'll notice the JSCAPE logo once again in the upper-right corner of the screen. Let me show you where you can replace that.
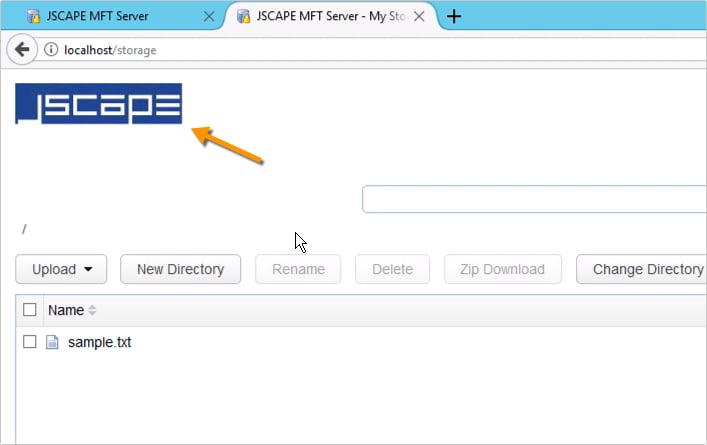
Go back to the JSCAPE MFT Server manager and then click the Domains menu. After that, select the specific domain whose user interface you want to change and then click Edit.
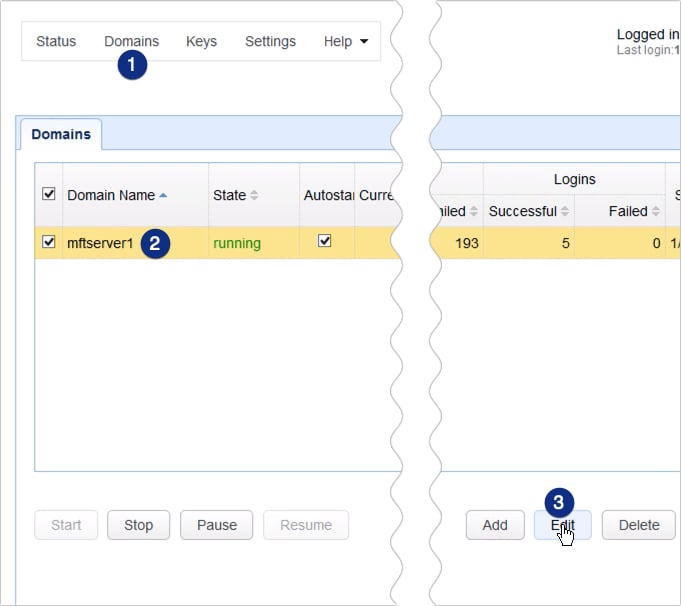
Next, navigate to Services > HTTP/S tab.
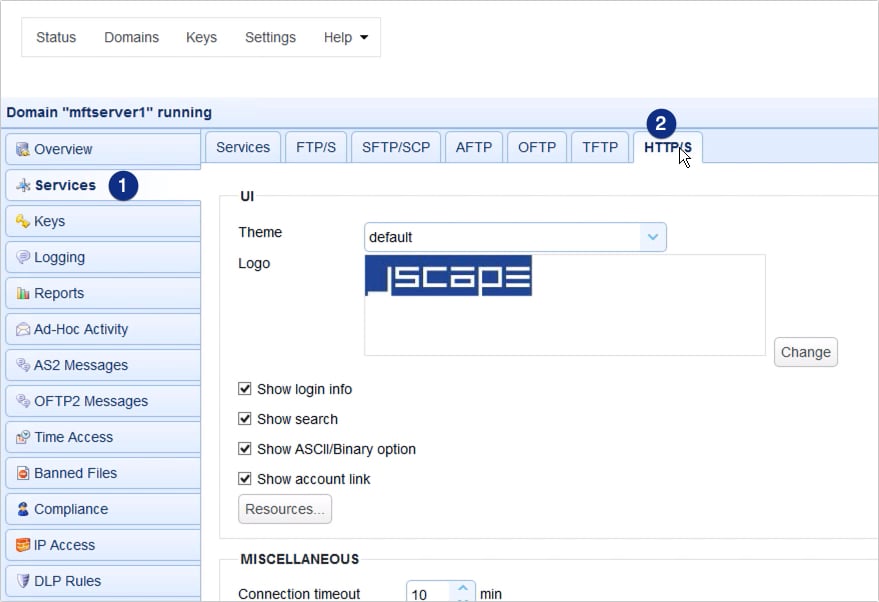
There you'll see another logo setting like the one you saw earlier. Click its corresponding Change button ...
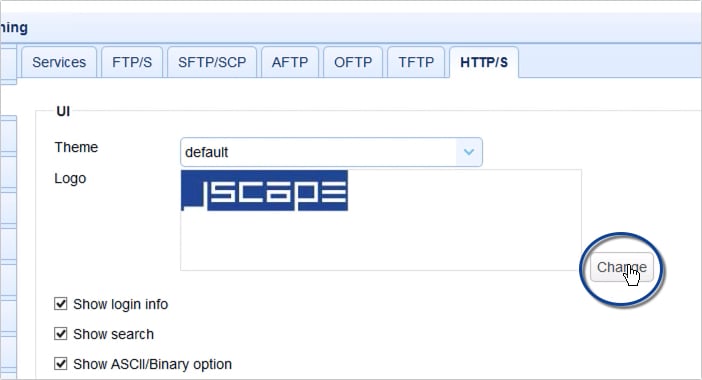
... and then select the image file as you did earlier.
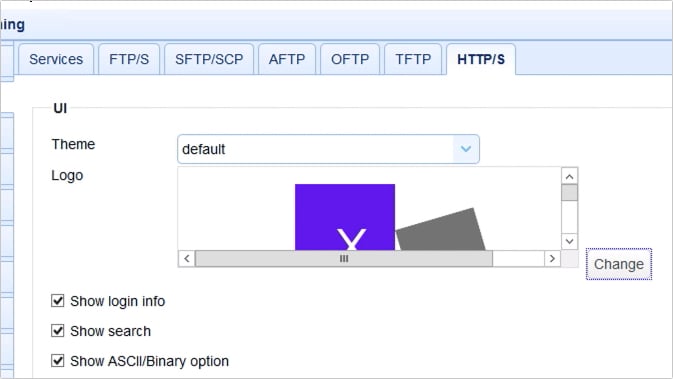
Before we click Apply, let me show you one more setting that will give your user interface an even more customized look and feel. Expand the Theme drop-down list and select one of the themes in that list. Let's just select metro-orange for now.
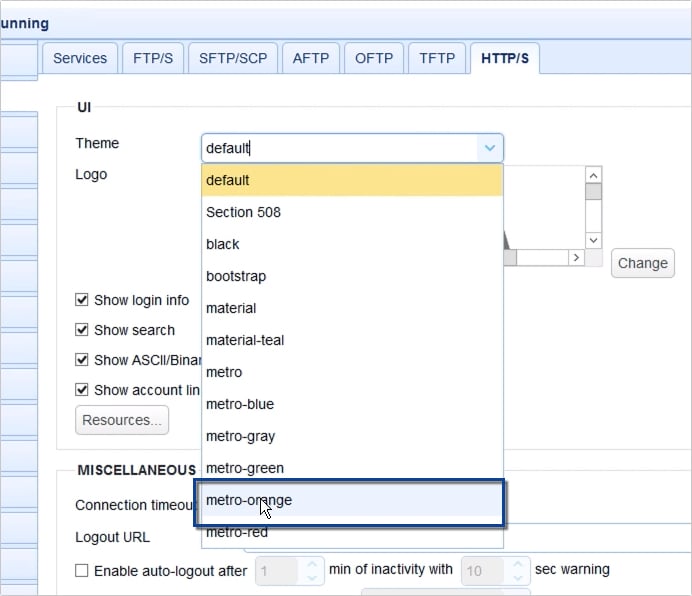
Let's click Apply and then log back into our web user interface.
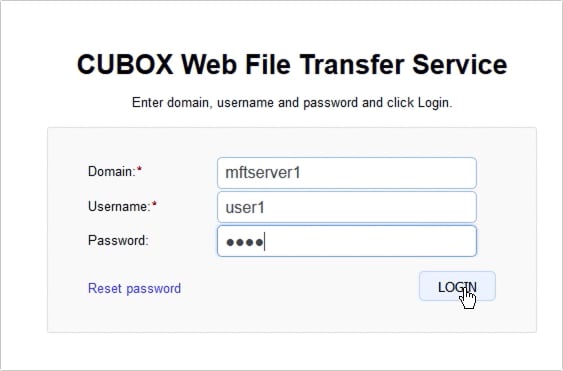
As you can see, not only do we have a new logo, we also have a new color theme applied to the buttons, menus, tabs, and other GUI elements.
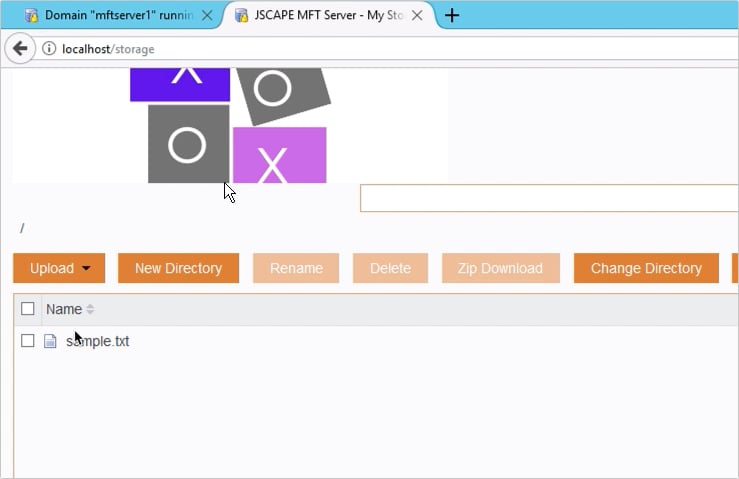
Before I end this walk-through, let me just show you where you need to go if you want to make changes to the various labels and texts inside the web user interface of a particular domain. Go back to the screen where we made changes to the logo and theme elements and then click the Resources button.
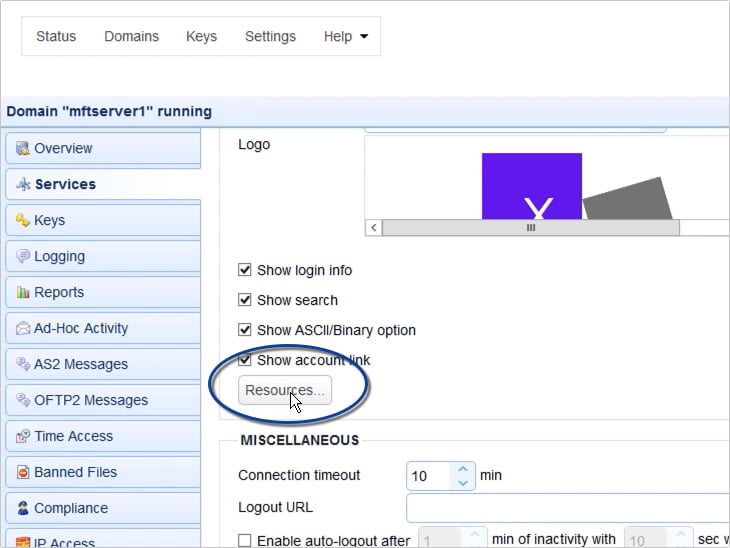
A dialog box similar to the one we saw earlier will pop up. If you want to make changes to any of the labels and texts, just do as we did earlier.
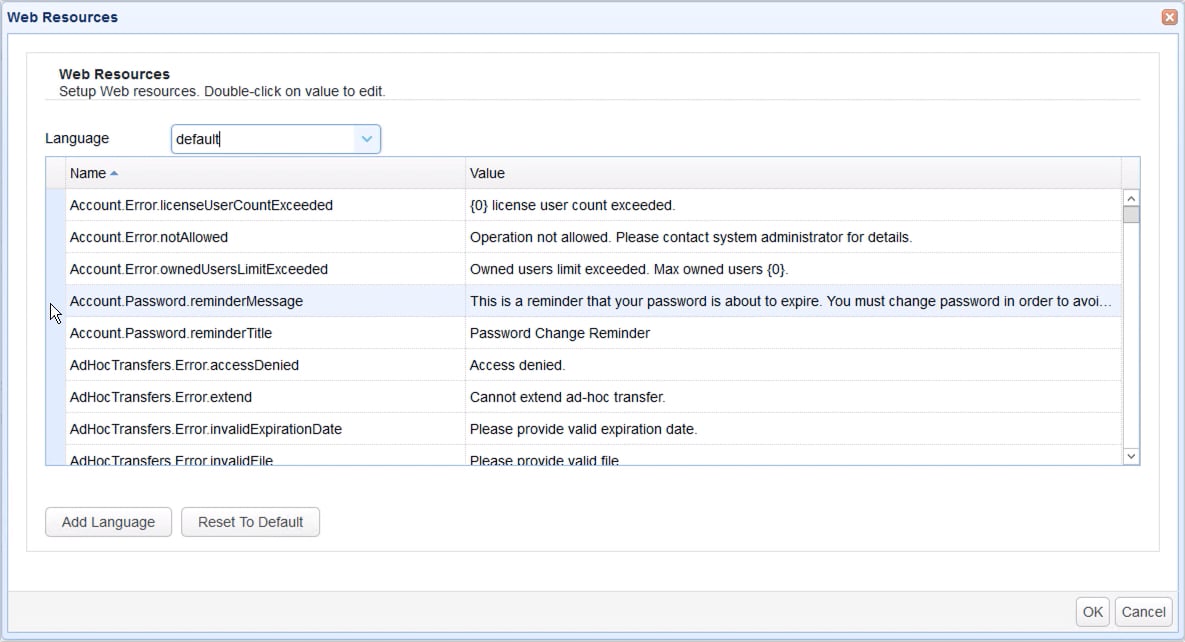
That's it. Now you know how to customize the web user interface of your HTTP/S file transfer service.
Try this yourself
Try this out yourself. Download the free, fully-functional evaluation edition of JSCAPE MFT Server. Download Now
Related content
How To Enable Anonymous File Uploads On Your Web File Transfer Server
How To Set Up A HTTPS File Transfer