Setting up a Linux FTP Server - Part 3

This is Part 3 of our 3-part blog post showing how to set up a Linux FTP Server. Let's recap what we've accomplished so far. In Part 1, you learned how to prep your Linux server by installing Java. Then in Part 2, you learned how to install JSCAPE MFT Server and configure it for remote administration via its admin web interface. In our last installment, we'll teach you how to activate an FTP service on your managed file transfer Linux server using that administrative web interface.
Need to go back to a previous step? Click the links below:
- Part 1 - Setting Up a Linux FTP Server
- Part 2 - Setting up a Linux FTP Server
- Part 3 - Setting up a Linux FTP Server (current article)
Connecting to your JSCAPE MFT Server instance
The first thing you need to do at this point is to connect to your JSCAPE MFT Server instance. Let's assume that, most of the time, you'll be connecting remotely. So, you need to know the IP address of your MFT Server instance. You can do obtain that information by simply running the ifconfig command.
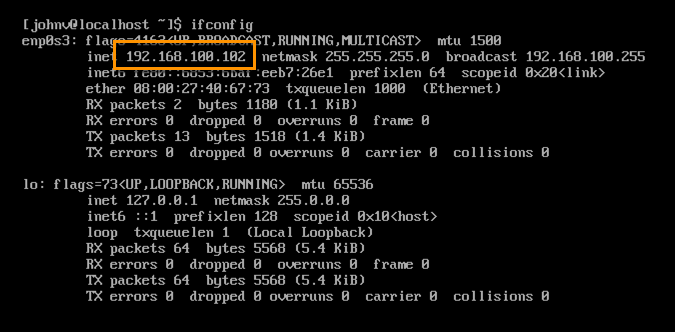
Once you've obtained your Linux machine's IP address (e.g. 192.168.100.102), you can then move on to the machine where you want to administer the MFT Server and fire up your favorite web browser.
Adding a domain and an FTP service
Connect to your MFT Server instance by entering https://[mft server IP address]:[port number of admin service] into your web browser's URL box. For example, in my case, the IP address is 192.168.100.102, and the port number is 11880. So, I'm entering https://192.168.100.102:11880. You'll know you have connected successfully if you see the login screen.
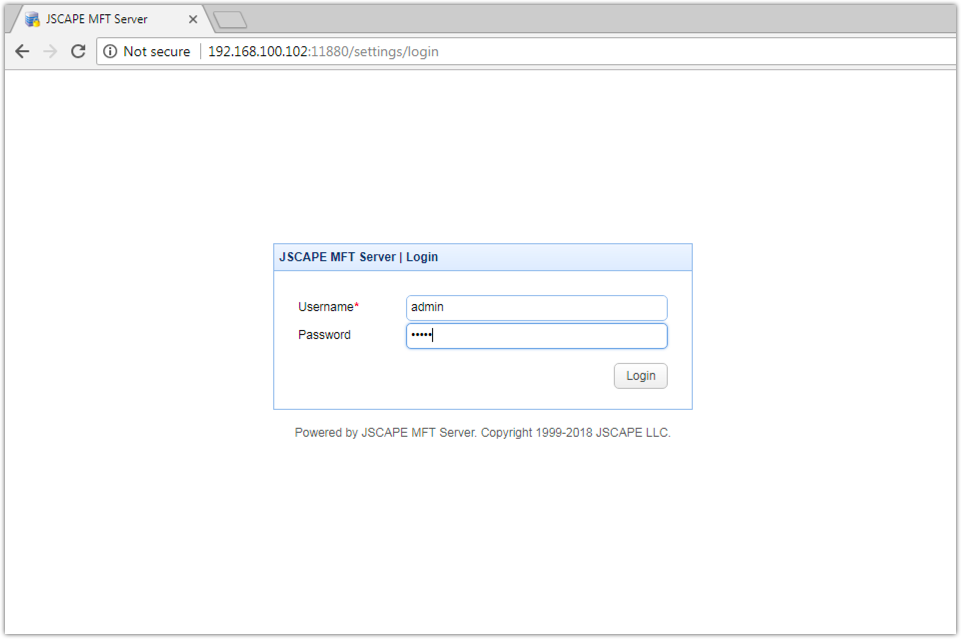
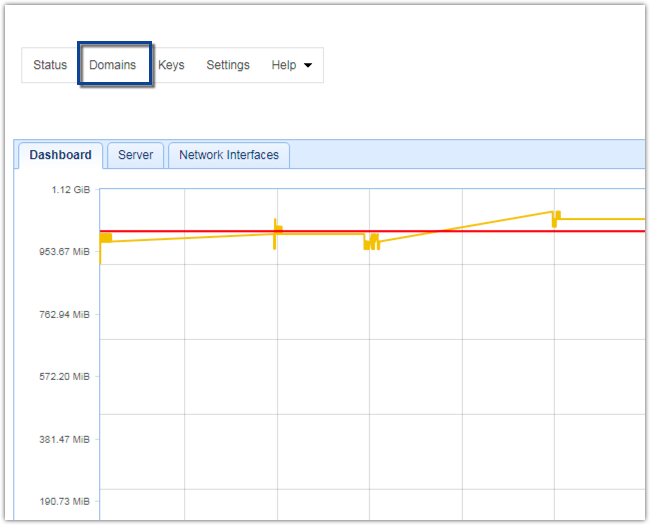
Login into the web interface. Once inside, navigate to the Domains menu.
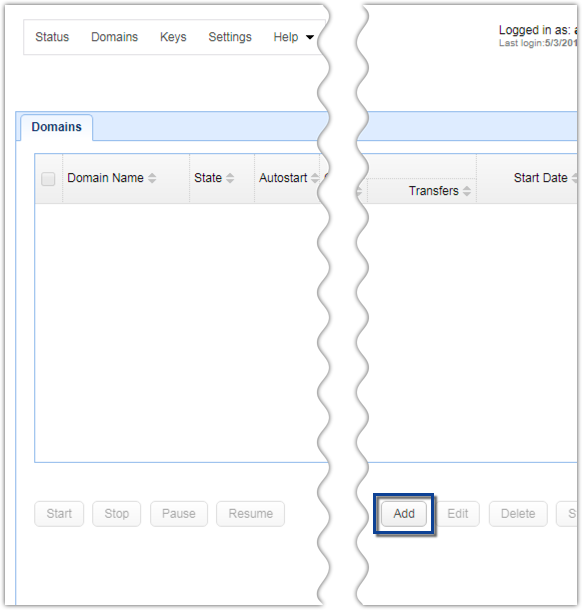
Click the Add button to add a new domain.
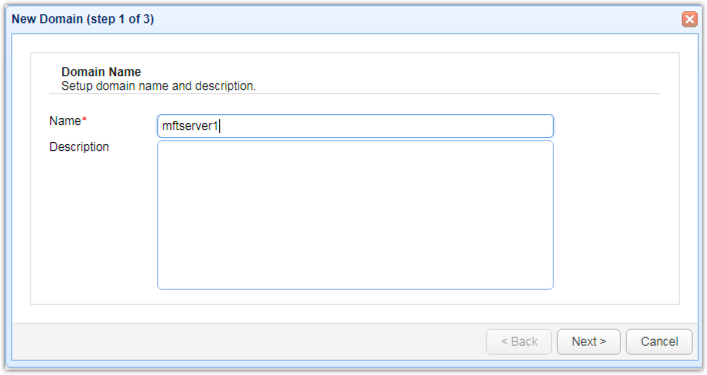
Give the new domain a name and click the Next button.
As part of the domain creation process, you'll be asked to select a file transfer protocol. Since the default protocol is already FTP/S, you may leave everything as is.
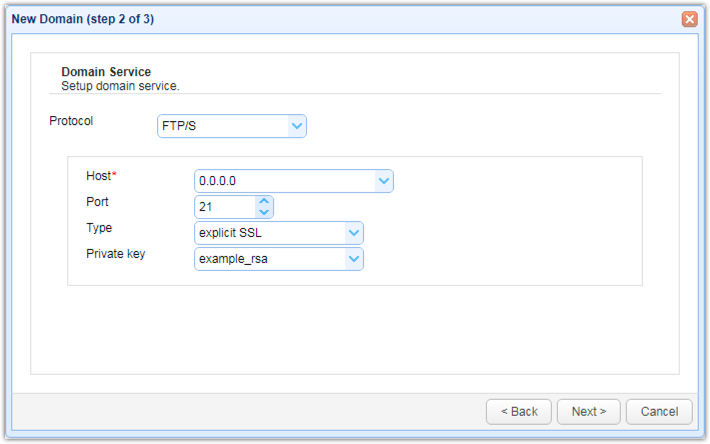
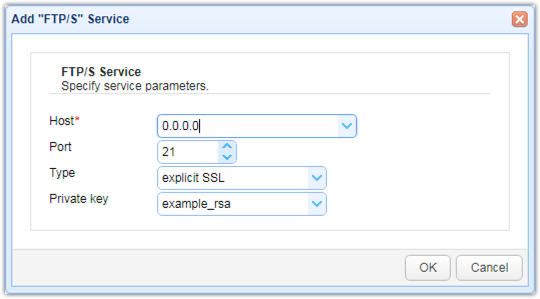
As mentioned in Part 2, the Host IP address 0.0.0.0 stands for all (IPV4) network interfaces on the local machine. Port 21 is the default port number for FTP, so we recommend you retain that. As for the Type, there are four types supported:
- Regular
- Explicit SSL
- Forced Explicit SSL
- Implicit SSL
The default, Explicit SSL, already supports both the unencrypted regular FTP and its secure, encrypted version, FTPS, so we suggest you leave that as is. For more information about explicit, forced explicit, and implicit modes of FTP, click that link.
The example_rsa private key selected there, which will be used in FTPS connections, is not for production use. You will have create your own key in Keys > Server Keys. But for now, you can leave that as is. Recommended read: Roles of Server and Client Keys in Secure File Transfers
Click Next to proceed.
The succeeding dialog contains settings for the domain log service. You may change your domain log files' location (Directory path) and specify how often the log files will be rotated (i.e., daily, weekly, monthly, or depending on the file size). We suggest you leave those as is for now.
Click OK to finalize the domain creation process.
You should then see your newly created domain on the main screen.
Adding an FTP/S service to an existing domain
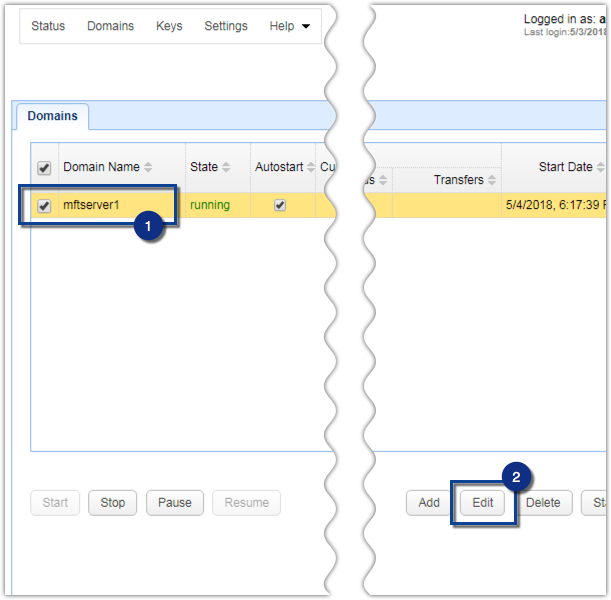
In case you already created a domain but didn't choose FTP/S as the initial protocol, or you may have accidentally deleted the FTP/S service or you want to add an additional FTP service with another port number, you may do so by editing the domain (just select it and click the Edit button).
You may now add an FTP/S service by going to the domain's Services node and then clicking the Add button.

In the succeeding screen, select FTP/S from the Protocol drop-down list.
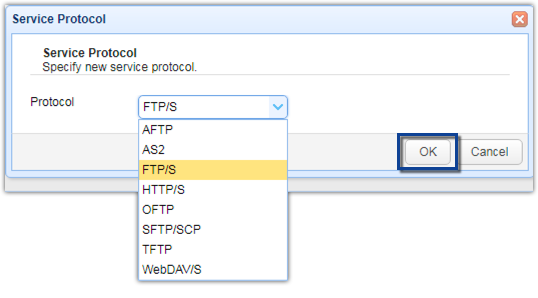
You'll then be presented with the dialog box discussed in the previous section. You may want to review that for reference. Click OK when you're done.
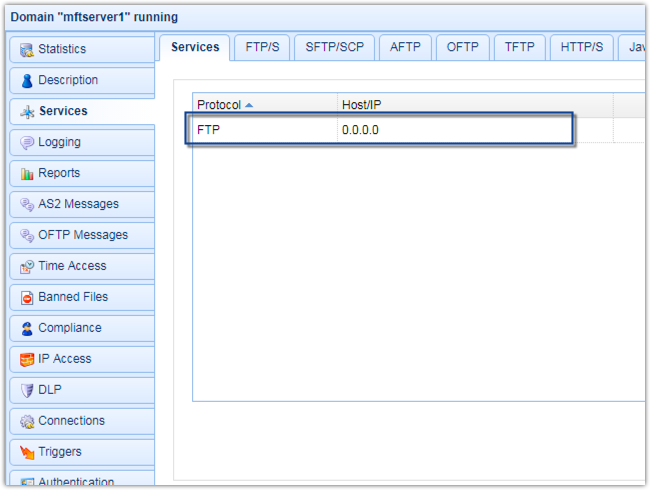
You should then see your newly added FTP service under your Services node.
Adding users for your FTP service
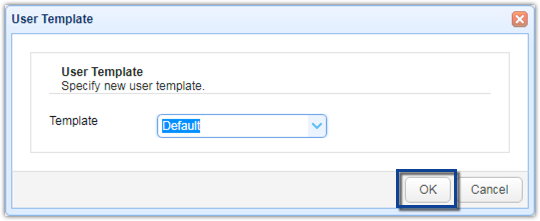
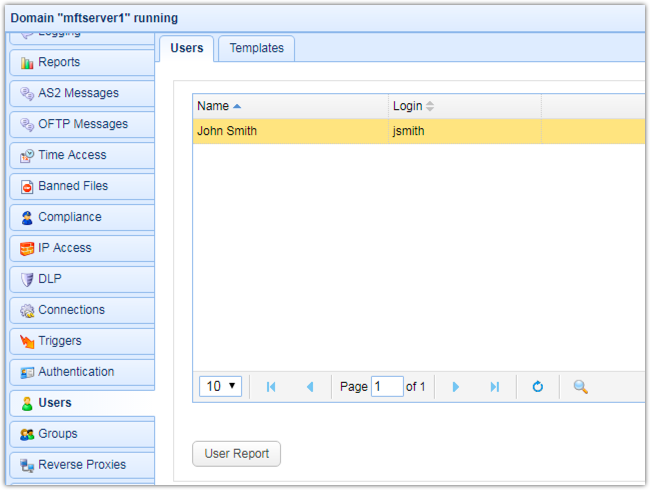
Once you have your FTP/S service ready, you can then create user accounts so that people can start using your new FTP service. To create a user account, go to the Users node then click the Add button. You'll then be asked to select a User Template. Assuming what you have there is a fresh install of JSCAPE MFT Server, you'll only find one template in the drop-down list - the Default. Later on, when you're more familiar with the Manager, you will want to create user templates and then create users off them. This will make the task of adding users much faster. But for now, click OK.
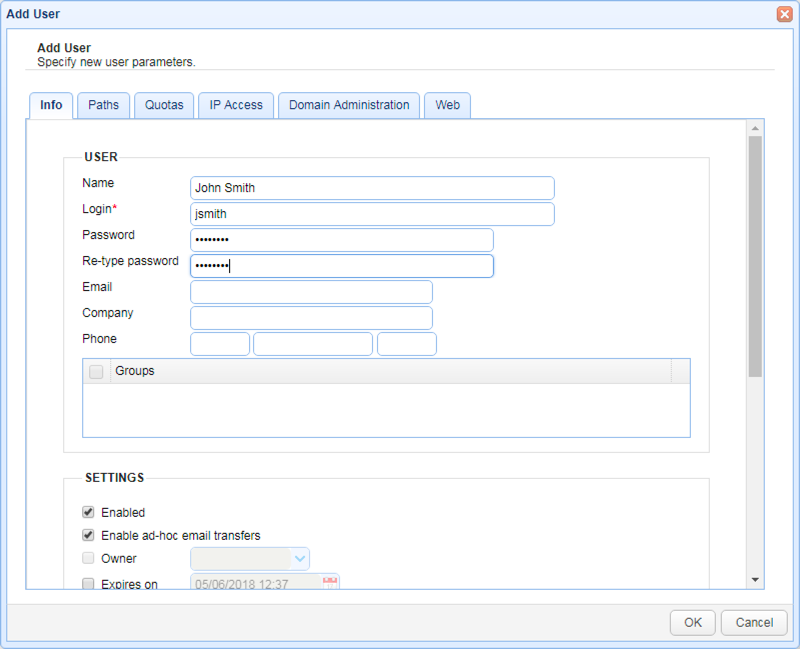
Fill in all pertinent information in the fields provided. For now, just put in a Name, a Login name, and that login name's corresponding Password. Don't forget to confirm the password. Click OK.
That user account will then be added to your list of Users.
Testing your new Linux FTP server
Once you've got your FTP service and user accounts ready, you can then proceed to test them using your favorite FTP client. Here's a screenshot of AnyClient, a free and highly versatile file transfer client, connecting to my Linux FTP server.
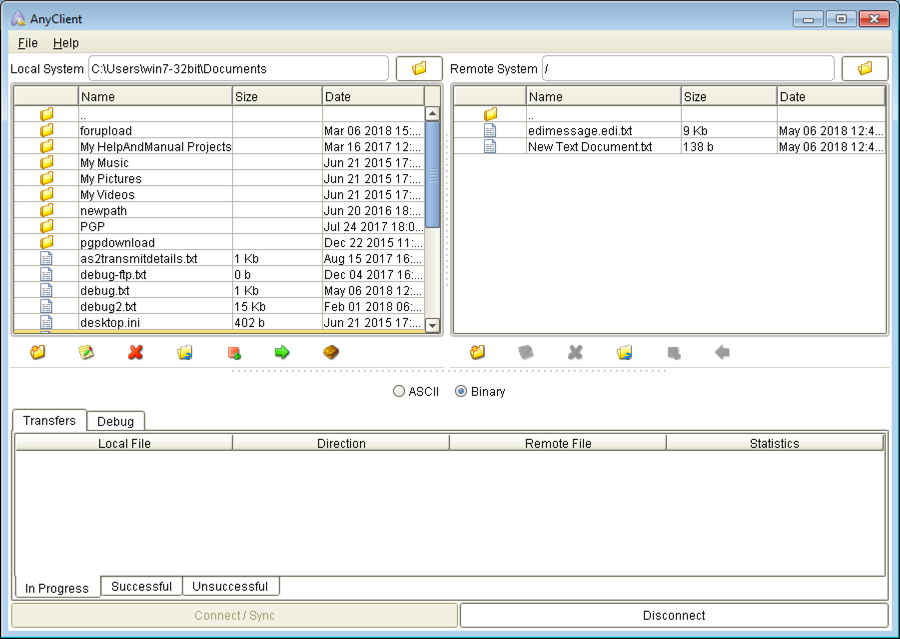
The file system you see under the Remote System sectionin the screenshot above is only a virtual file system.
The JSCAPE MFT Server's Virtual File System differs from your OS file system. More specifically, the users you create and the permissions you grant them to files and directories in your JSCAPE server are different from the users and permissions found in your operating system.
By default, JSCAPE MFT Server user accounts are jailed user accounts. For the entire Linux file system, these users cannot access files and directories above them. This user may create folders under his virtual file system and upload files to those folders, but he won't be able to access any of the folders above his topmost folder.
This is one of the many secure file transfer features built into your JSCAPE MFT Server. For more information about the security features of JSCAPE MFT Server, read the article "10 Essential Attributes of a Secure File Transfer."